

Next comes the transport of the material from the car park to the site. This was done by local contractor Transportes Borragan.
Again efficient and quick.
Loading delivery and unloading in just over 3 hours.![]()


The final journey.
On Site.
As the material was put down quite a long way from the footings it had to be carried to the back garden. There we laid out the first truss and used this as a template to put together the others. Assembly of all the trusses took 2 people three days including marking out and removing the turf from the inside of the footings.


We built 9 in one pile and the other 5 in a separate one. Due to off site fabrication this process was made easier. At the back of these piles we placed a bracing bar so that when the crane lifts up a truss they don’t slide off and risk injury or damage to the trusses.
Once all the trusses were fixed it was time to secure the services of a crane company. We eventually used FAM.
![]()


As the terrain is quite soft and with a gentle slope the crane was brought in on Friday evening to avoid the dampness from the heavy dews that could make it difficult to manoeuvre in the morning.
Interesting number plate.
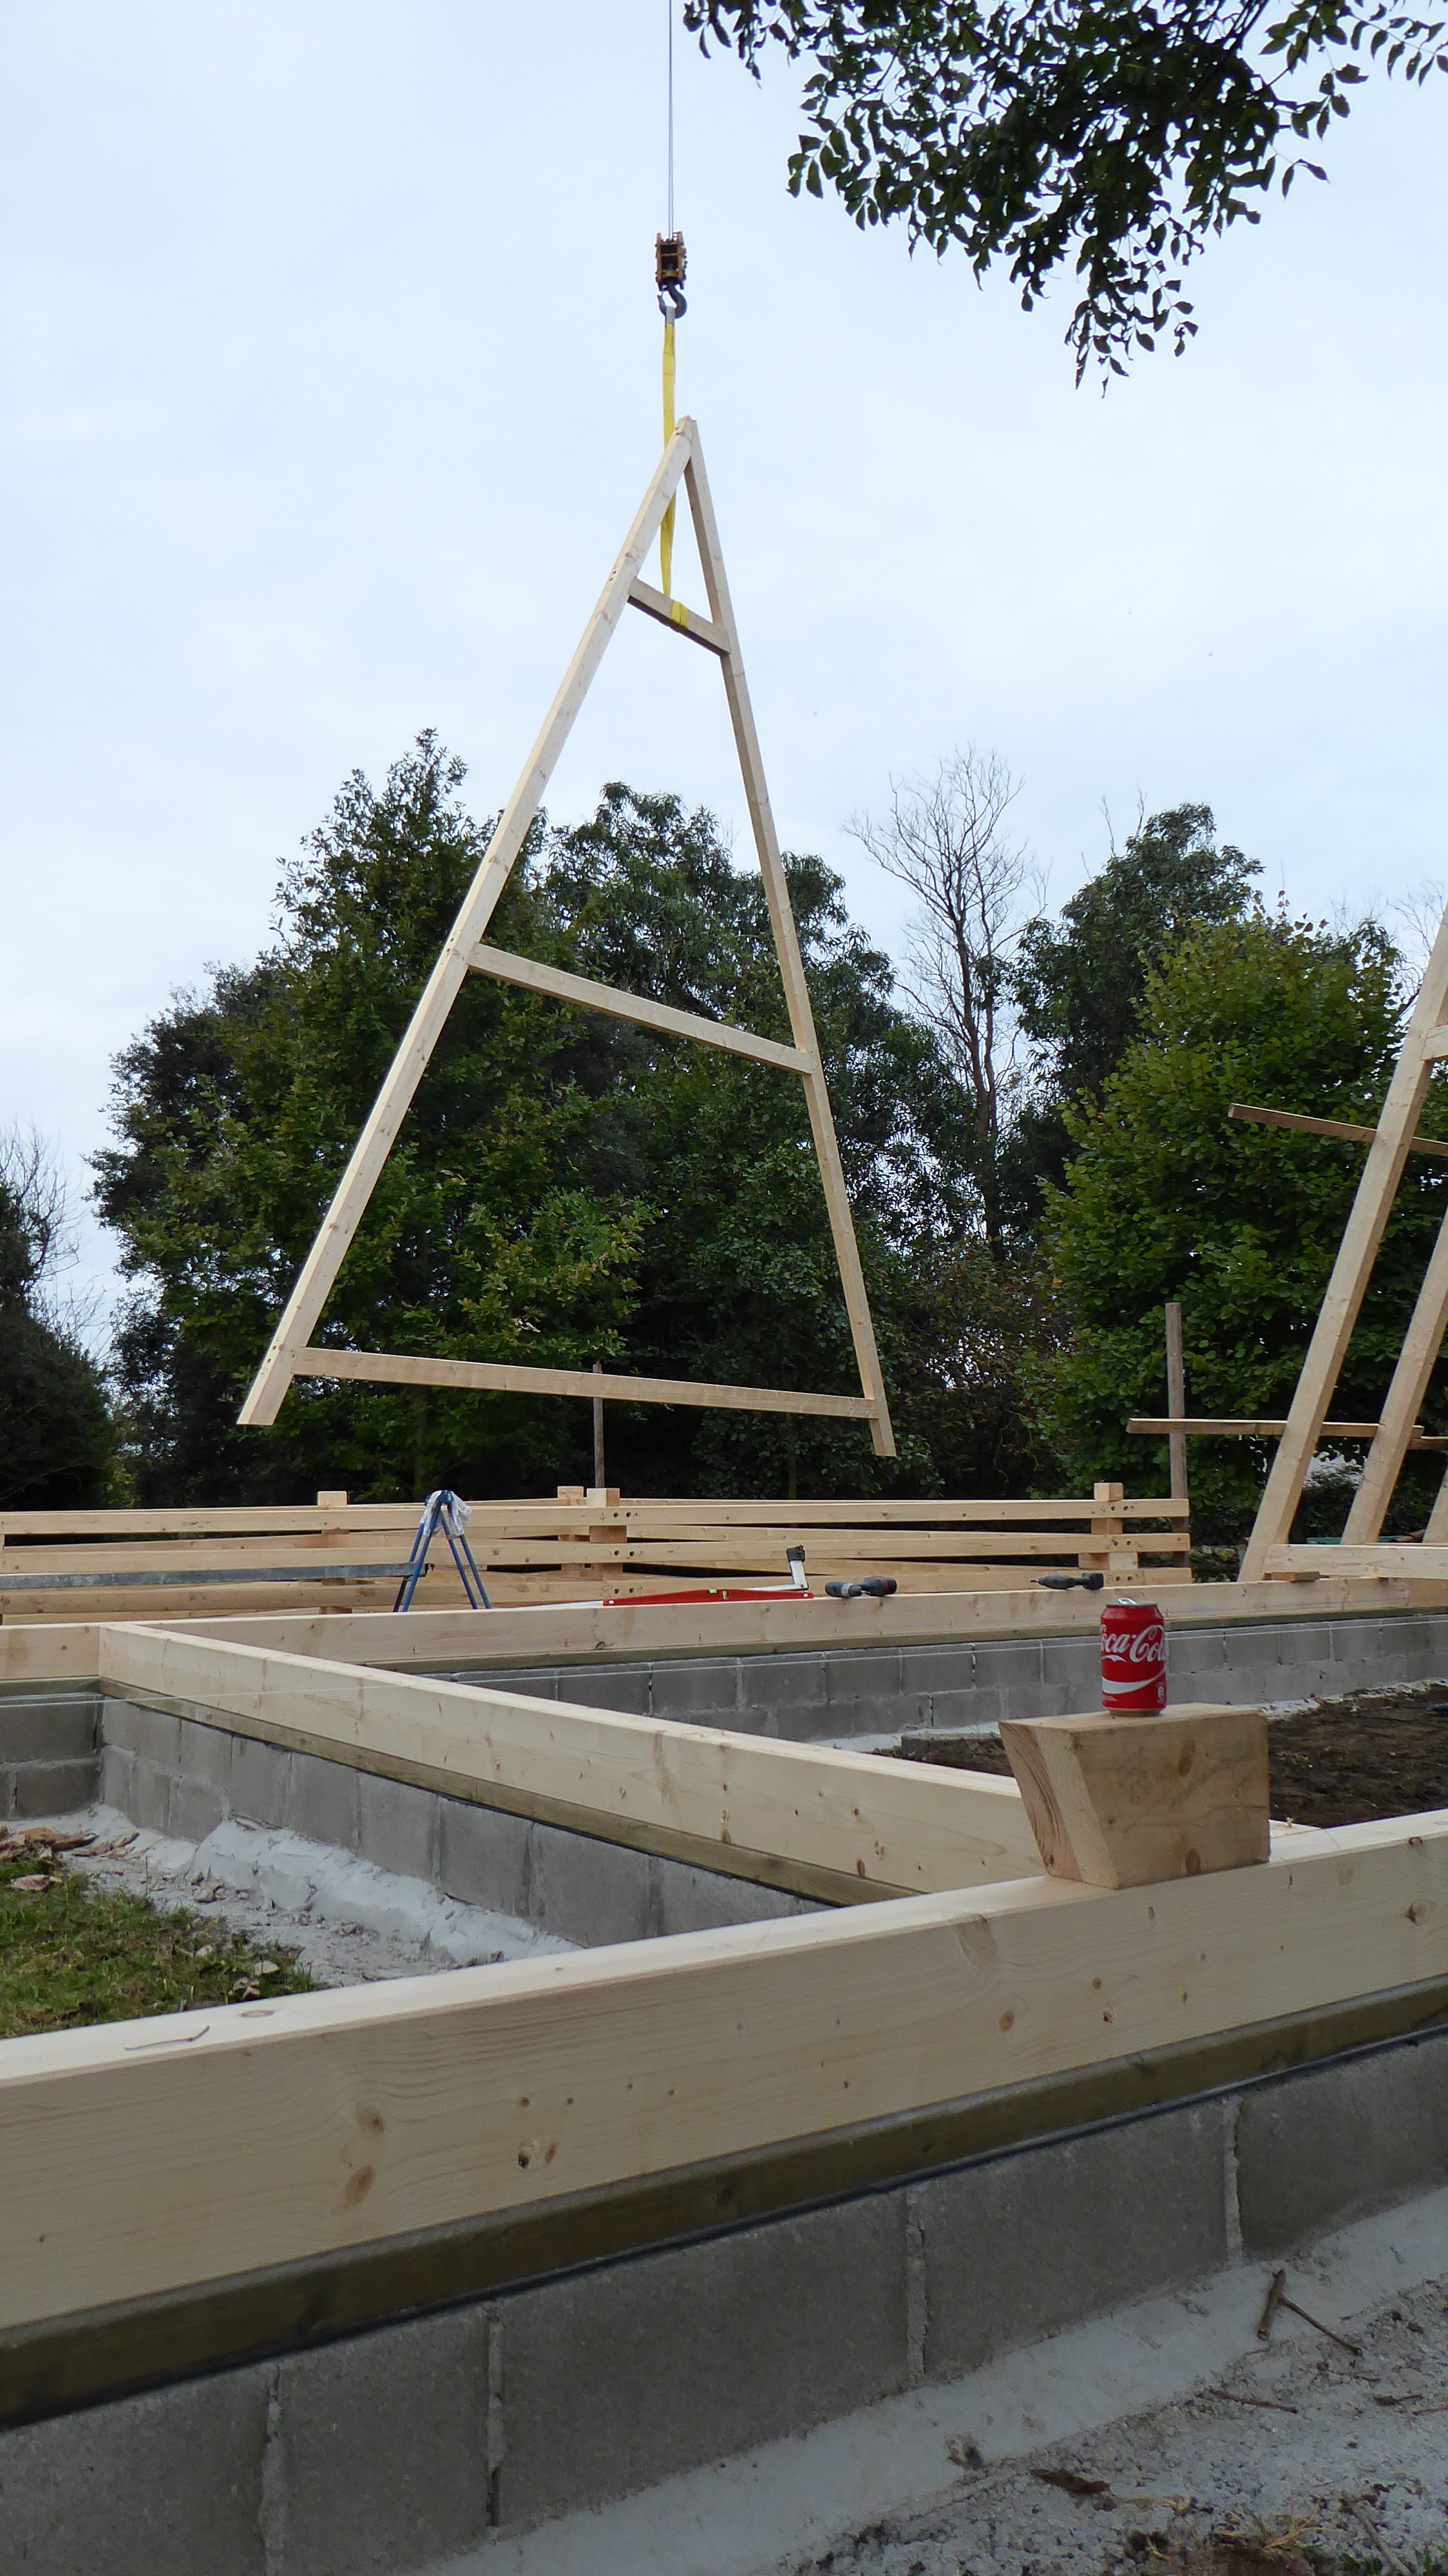
At 8 o’clock the next morning everything was ready. The crane set up took about half an hour and we started with the first truss. This is always the most difficult as it needs to be braced plumb. This is then fixed to the ring beam with 8 big screws in pre-drilled holes to avoid splitting.
Truss Number 1.


Note: The bracing bar fixed to all the trusses so as to assist lifting. This made for a very secure operation. This truss also has a holder screwed to it. This is where the bracing planks will be screwed to.


These holding plates were fabricated on site. Here they are pictured when the T&G was fixed.


Truss Number 2.


There are 2 braces fixed to the first truss, one either side, these braces are then screwed to stakes driven into the ground holding them up right and plumb. It’s so important to get the first one right as all the other are braced laterally off this one.
Truss Number 3.


All the second truss needs is fixing to the ring beam and putting plumb. Now the first piece of lateral bracing can be fixed.
Truss Number 4.


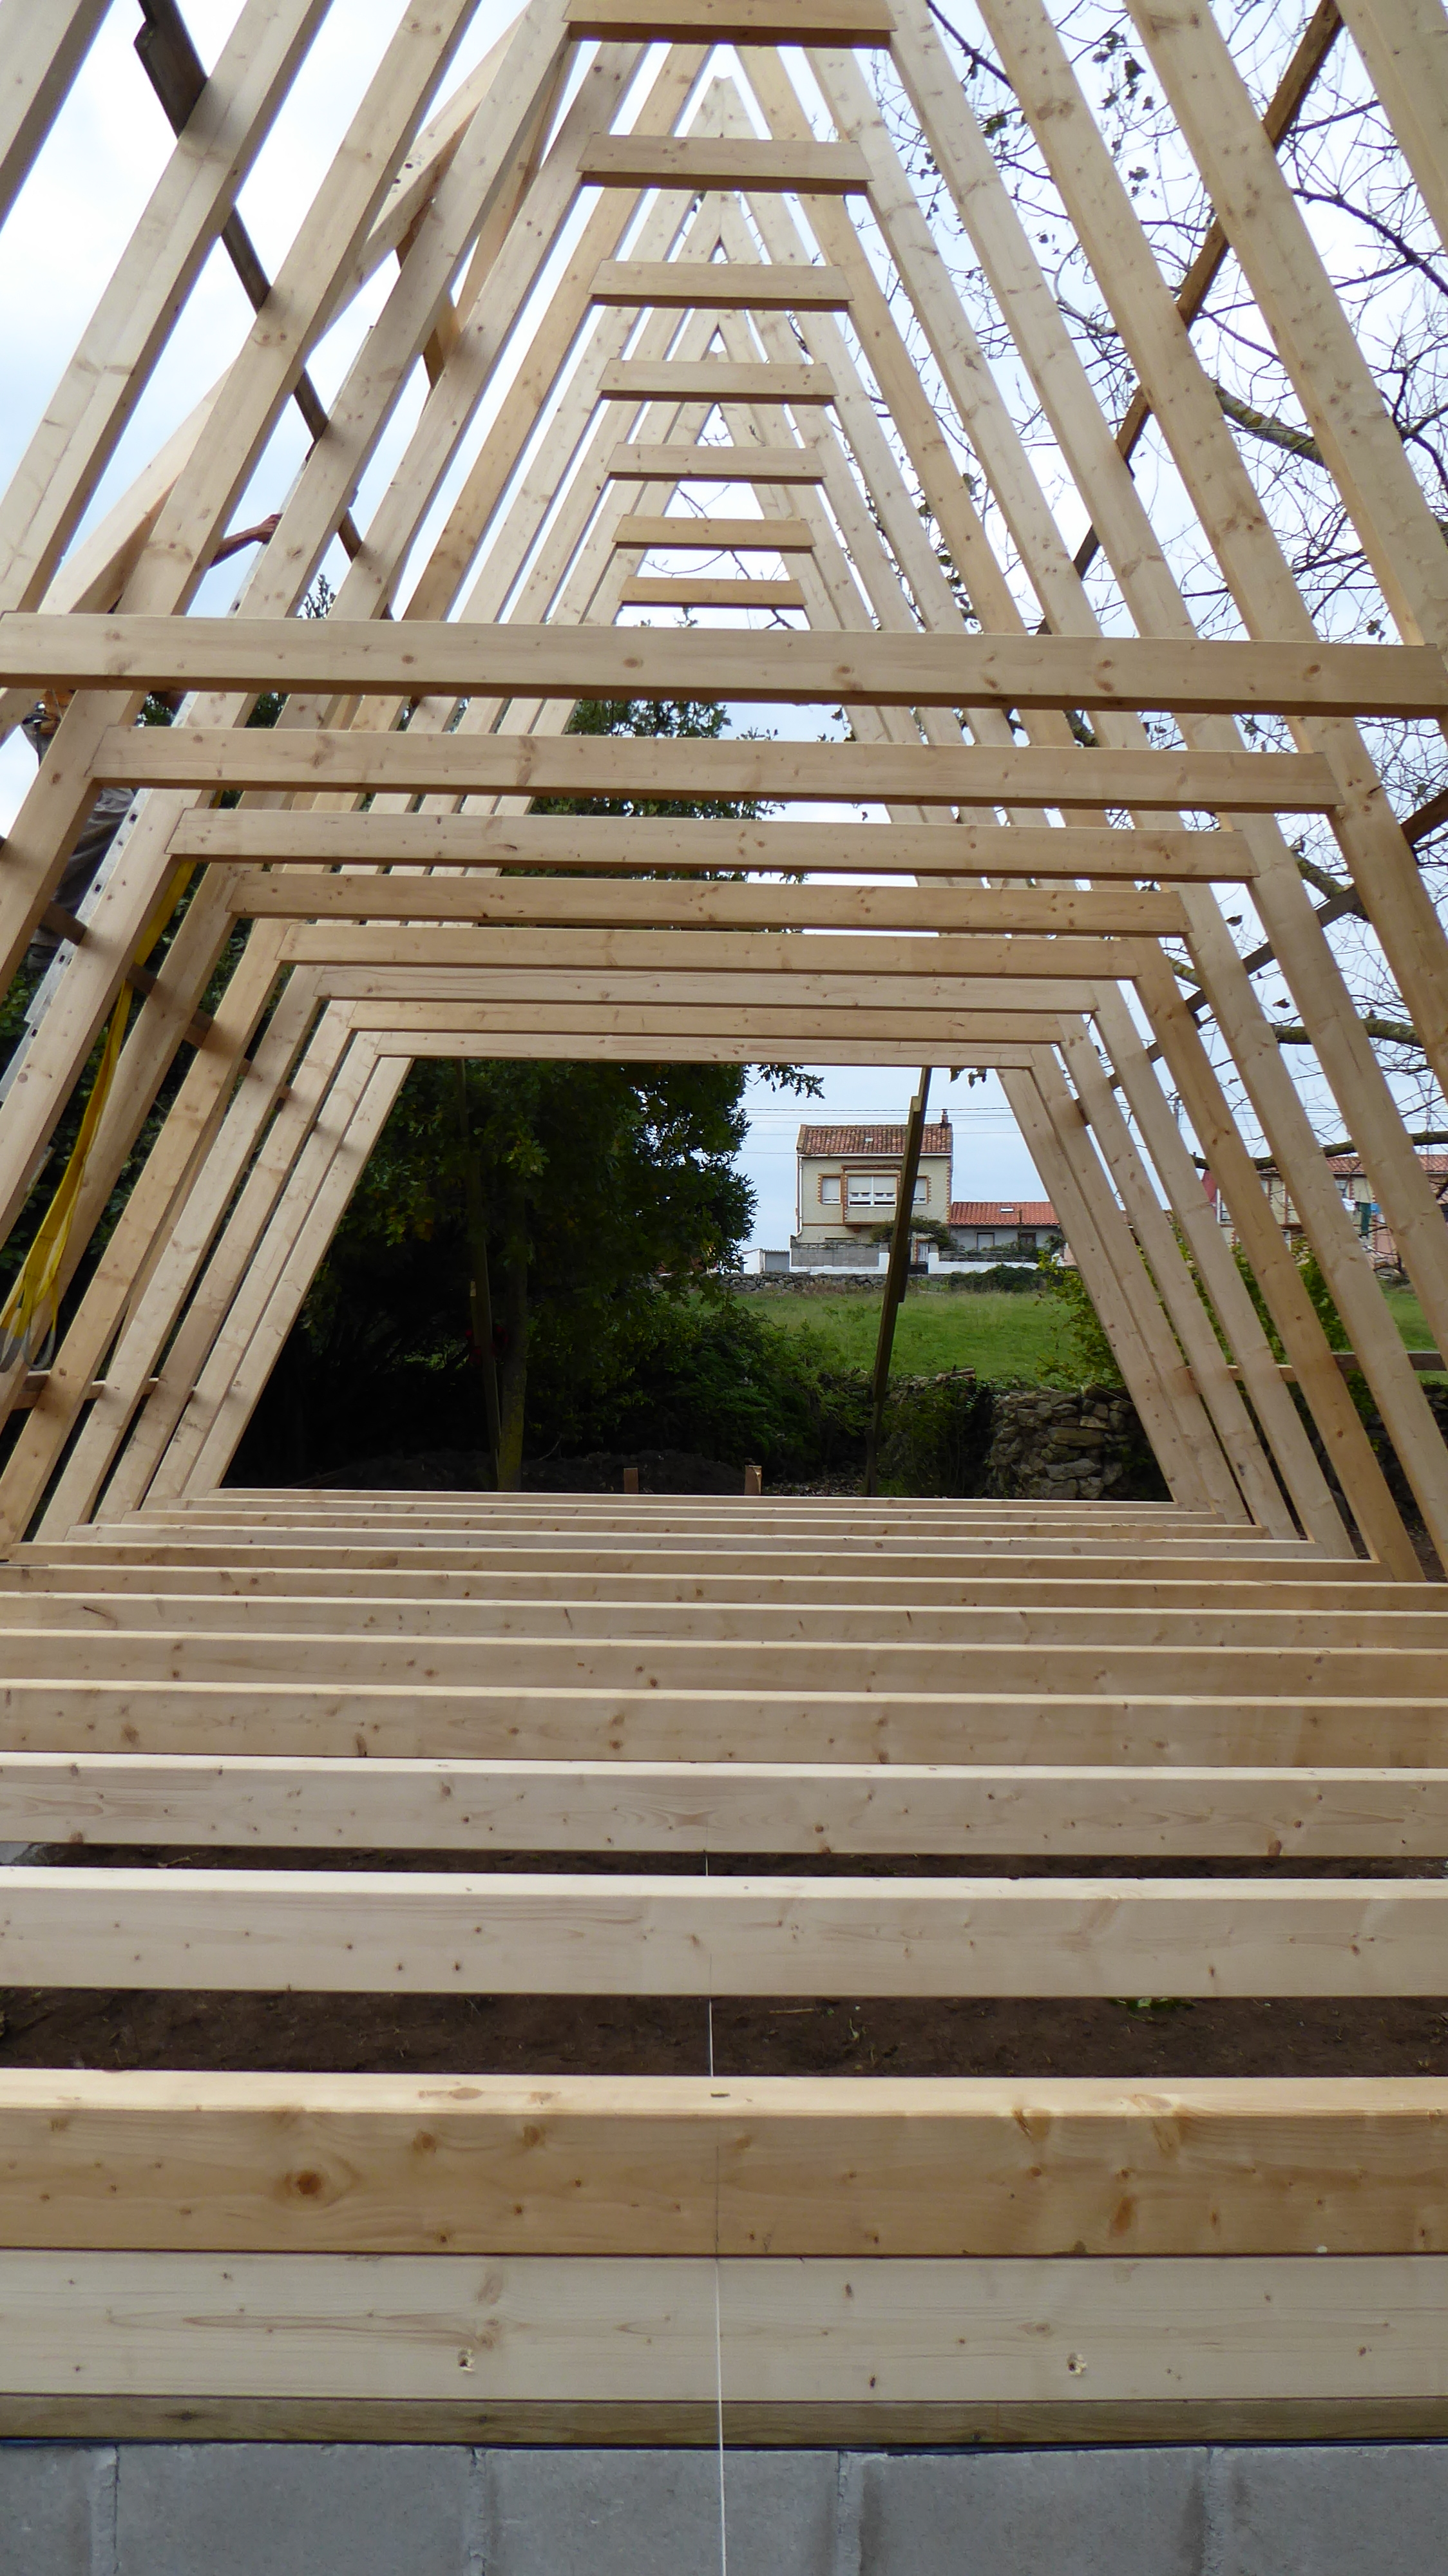
In all there are three layers lateral braces either side providing a rigid erection.
Truss Number 5.


Tru![]() ss Number 6.
ss Number 6.

To centre every truss they were marked half way along and this mark was aligned with a centre string which ran the length of the ring beam. No need to waste time with a fape measure by using this method.
Truss Numb![]() er 7.
er 7.


The complete erection process was recorded using a time lapse setting.
Truss Number 8.


Truss Number 9.

Truss Number 10.

Truss Number 11.

Truss Number 12.


Truss Number 13.

Truss Number 14.

The picture on the right is south facing and will eventually be fully glazed. The one on the left is facing north and will have both the kitchen and toilet windows.


In all it took three people eight hours to assemble all the trusses. A Saturday well spent.